

CLICK HERE to download the image.
This will vary for each operating system probably. Click the link above, it will either start a download or open (at full resolution?) in another window. If it opens in another browser window go to your File menu and choose Save As, then choose where you want to save the file.
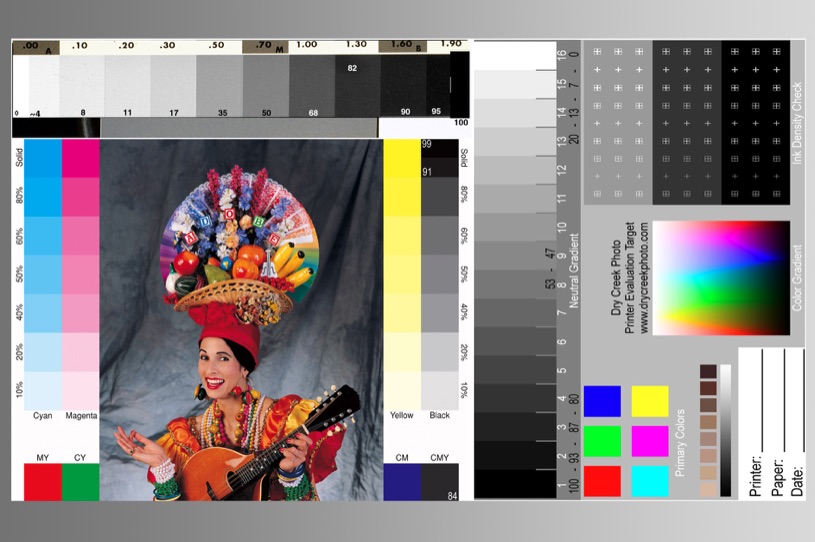
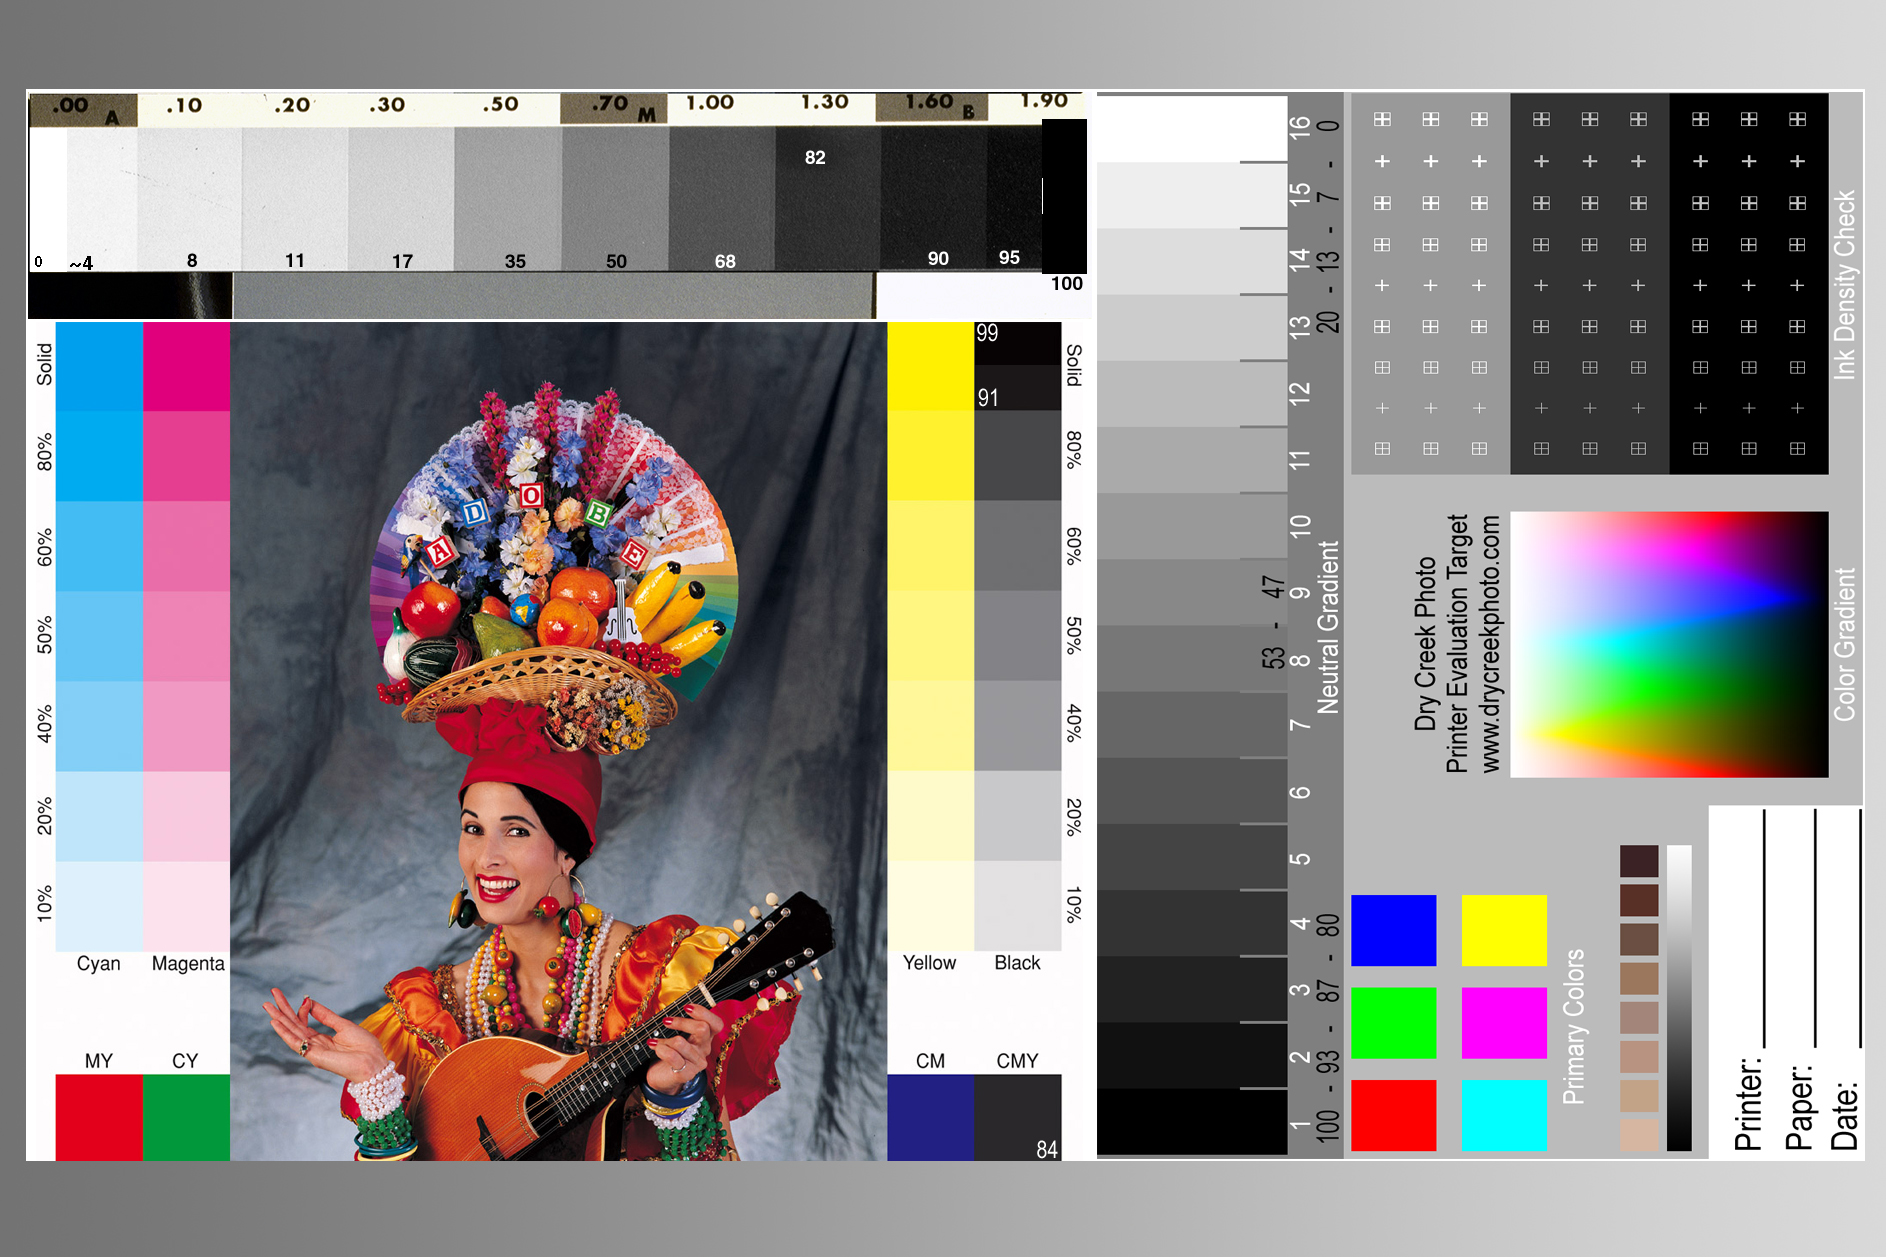
How to use the Calibration Image
1. For your Monitor, make sure your monitor has been on for 15 minutes or so, then use monitor calibration software if your have any. (If you don’t have calibration software use your monitors Contrast and Brightness adjustment while viewing this image). When your done, you should be able to see the differences between the two lightest and two darkest steps on the central vertical Black&White step-tablet. The gray portion of the image should not have any color cast such as blue or yellow for example. If your monitor doesn’t look as described, go back and re-adjust it again.
2. For your Printer, Paper quality makes a big difference and results can change from one paper to another. After printing, view the image. You should be able to see differences between the two lightest and two darkest steps on the central vertical Black&White step-tablet. The gray portion of the image should not have any color cast such as blue or yellow for example. If your print out doesn’t look as described, change to a different kind/brand of paper or refer to your printer manual for more adjustments.
3. Color calibration can get very complicated. I have found this method to work pretty well, good luck. I hope this works for you.